
Last Updated on November 4, 2022 by admin
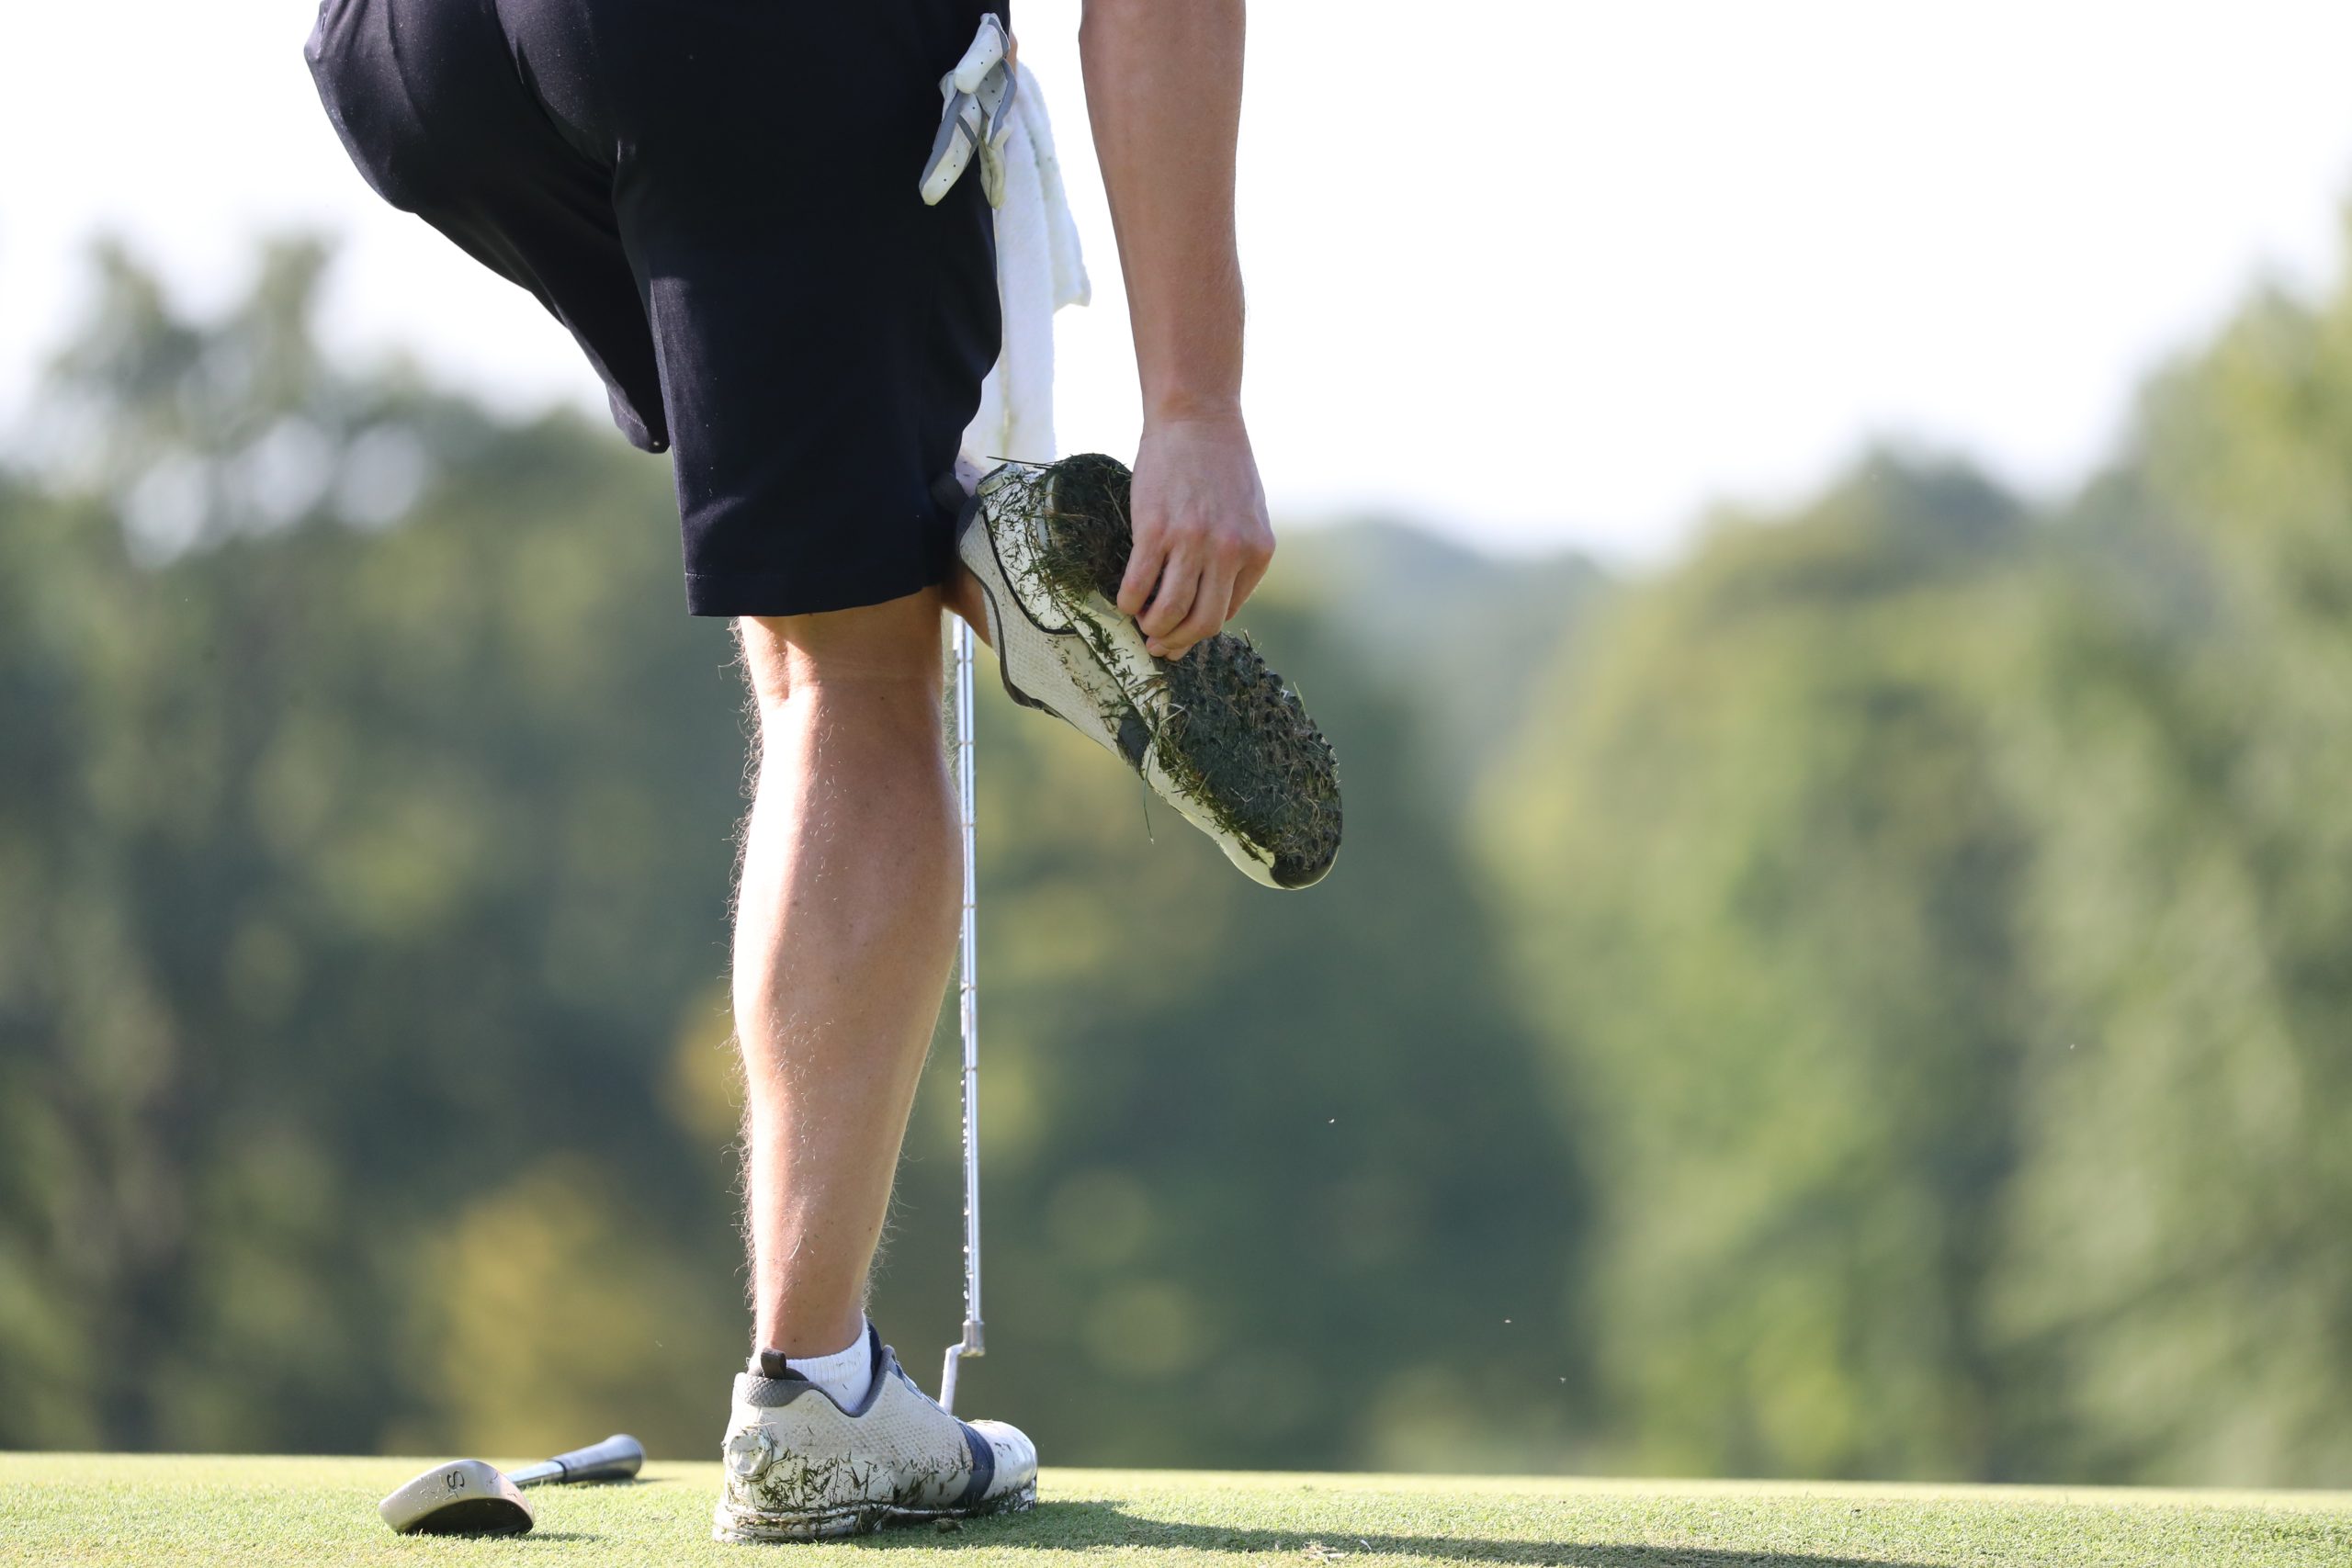
Golf shoes with spikes are of course a great thing to have when you are on the green. They help you remain stable and firmly planted on the ground as you swing your club, and it usually always leads to a better shot. Of course, spiked golf shoes are also a big bonus when it comes to wet grass. Wet grass is slippery, and those spikes go a long way in keeping you upright. It’s all about the traction.
That said, what if you want to remove some of those spikes? Maybe the spikes are damaged or worn out, in which case you definitely want to remove the old ones, or maybe you just want to use your golf shoes as normal shoes, something you can’t really do if they are full of spikes. Walking around on normal terrain with what more or less amounts to cleats is not comfortable. So, today we want to figure out how to remove soft spikes from golf shoes. Let’s get to it!
Using A Golf Spike Wrench
The first thing that you should always try here is to use a golf spike wrench, and yes, these tools are designed just for this purpose, for removing all sorts of spikes from skechers golf shoes.
Generally speaking, you should be able to just tighten the golf spike wrench around the spike, move it back and forth a bit, and it should pop out without having to apply too much force.
However, that being said, when a soft golf spike is broken, snapped, damaged, or worn out, using a simple golf spike wrench might not be enough to get the job done. In this case, you are going to need some extra tools and a little more force too.
Removing A Severely Stuck Golf Shoe Spike
If the first method of removing the golf shoe spike did not work, you will need to get yourself some WD40, or in other words, some simple lubricating grease. It doesn’t have to be anything special or super expensive, but something like WD40 tends to work best for removing a golf shoe spike that is giving you trouble.
So, here you will want to take that WD40 and spray it onto the spike, as well as the spike receptable. Here, be careful not to apply way too much. You want to apply enough of the lubricant to coat the spike receptacle and the spike, but not so much that the WD40 is dripping off of it.
Now, go back to the spike wrench, tighten it around the spike, and start working it in both directions. Keep in mind that if that spike is really stuck in there, it is going to take a lot of effort and force to get it free. If all goes to plan, the golf shoe spike should now be able to come out, but this might still not be the case.
Getting A Drill & Pliers
Alright, so using a golf spike wrench, and applying a bunch of lubricant still has not worked, so what do you do now? Well, what you will want to do here is to get a power drill, one with a small drill bit. The aim here is to drill a hole into the spike. Be careful that you don’t drill into the golf shoe itself, because the golf shoe should still be good, and you do want to preserve it.
The goal here is to drill a small hole into the spike itself, just large enough so you can then take your needle nose pliers, insert them into the hole in the spike, clamp down on the spike, and then pull it out. This should be more than enough to remove any spike from any golf shoe, whether soft or hard.
Adding New Spikes To Your Golf Shoes
Now that you have removed the old and damaged spikes, if you wish, now is the time to add new spikes in. Keep in mind that golf shoe manufacturers will recommend that you replace the spikes every 15 rounds of golf, although this is unnecessary. You should be able to play at least 30 rounds with the same spikes before they need replacing.
What you need to keep in mind here is that when replacing the old spikes, when you get the new ones, they need to match the threat on the spike receptacles on the golf shoes. So, go out and buy some new golf shoe spikes that will fit into your golf shoes.
Before you go to insert the new spikes into the housing, be sure to thoroughly clean the spike housings, so that there is no dirt or debris present, or else the new spikes will not fit in properly. You can use some compressed air to blast out dirt, or some simple water does the trick too.
Now that the receptacle is clean, simply put the spike in it, usually by turning in a clockwise motion with your fingers. Once again, you will want a spike wrench here, one that matches the brand of spikes you have purchased, and you will want to use it to tighten the spikes in a clockwise motion. Be sure to tighten them well, because you don’t want them to loosen or even come off in the middle of a game.
Conclusion
There you have it folks, how to remove spikes from golf shoes. Generally speaking, removing spikes from golf shoes should not be very hard, but they do need to be removed and replaced on occasion. That said, if you have really worn out or damaged spikes, it is going to be a bit harder to remove them, in which case you will need some lubricant, and if they are really in there, you may even need a drill and some pliers. Before you go to put new spikes in there, be sure that they match the threading and that the spike receptacles are clean and free of debris.