
Last Updated on November 4, 2022 by admin
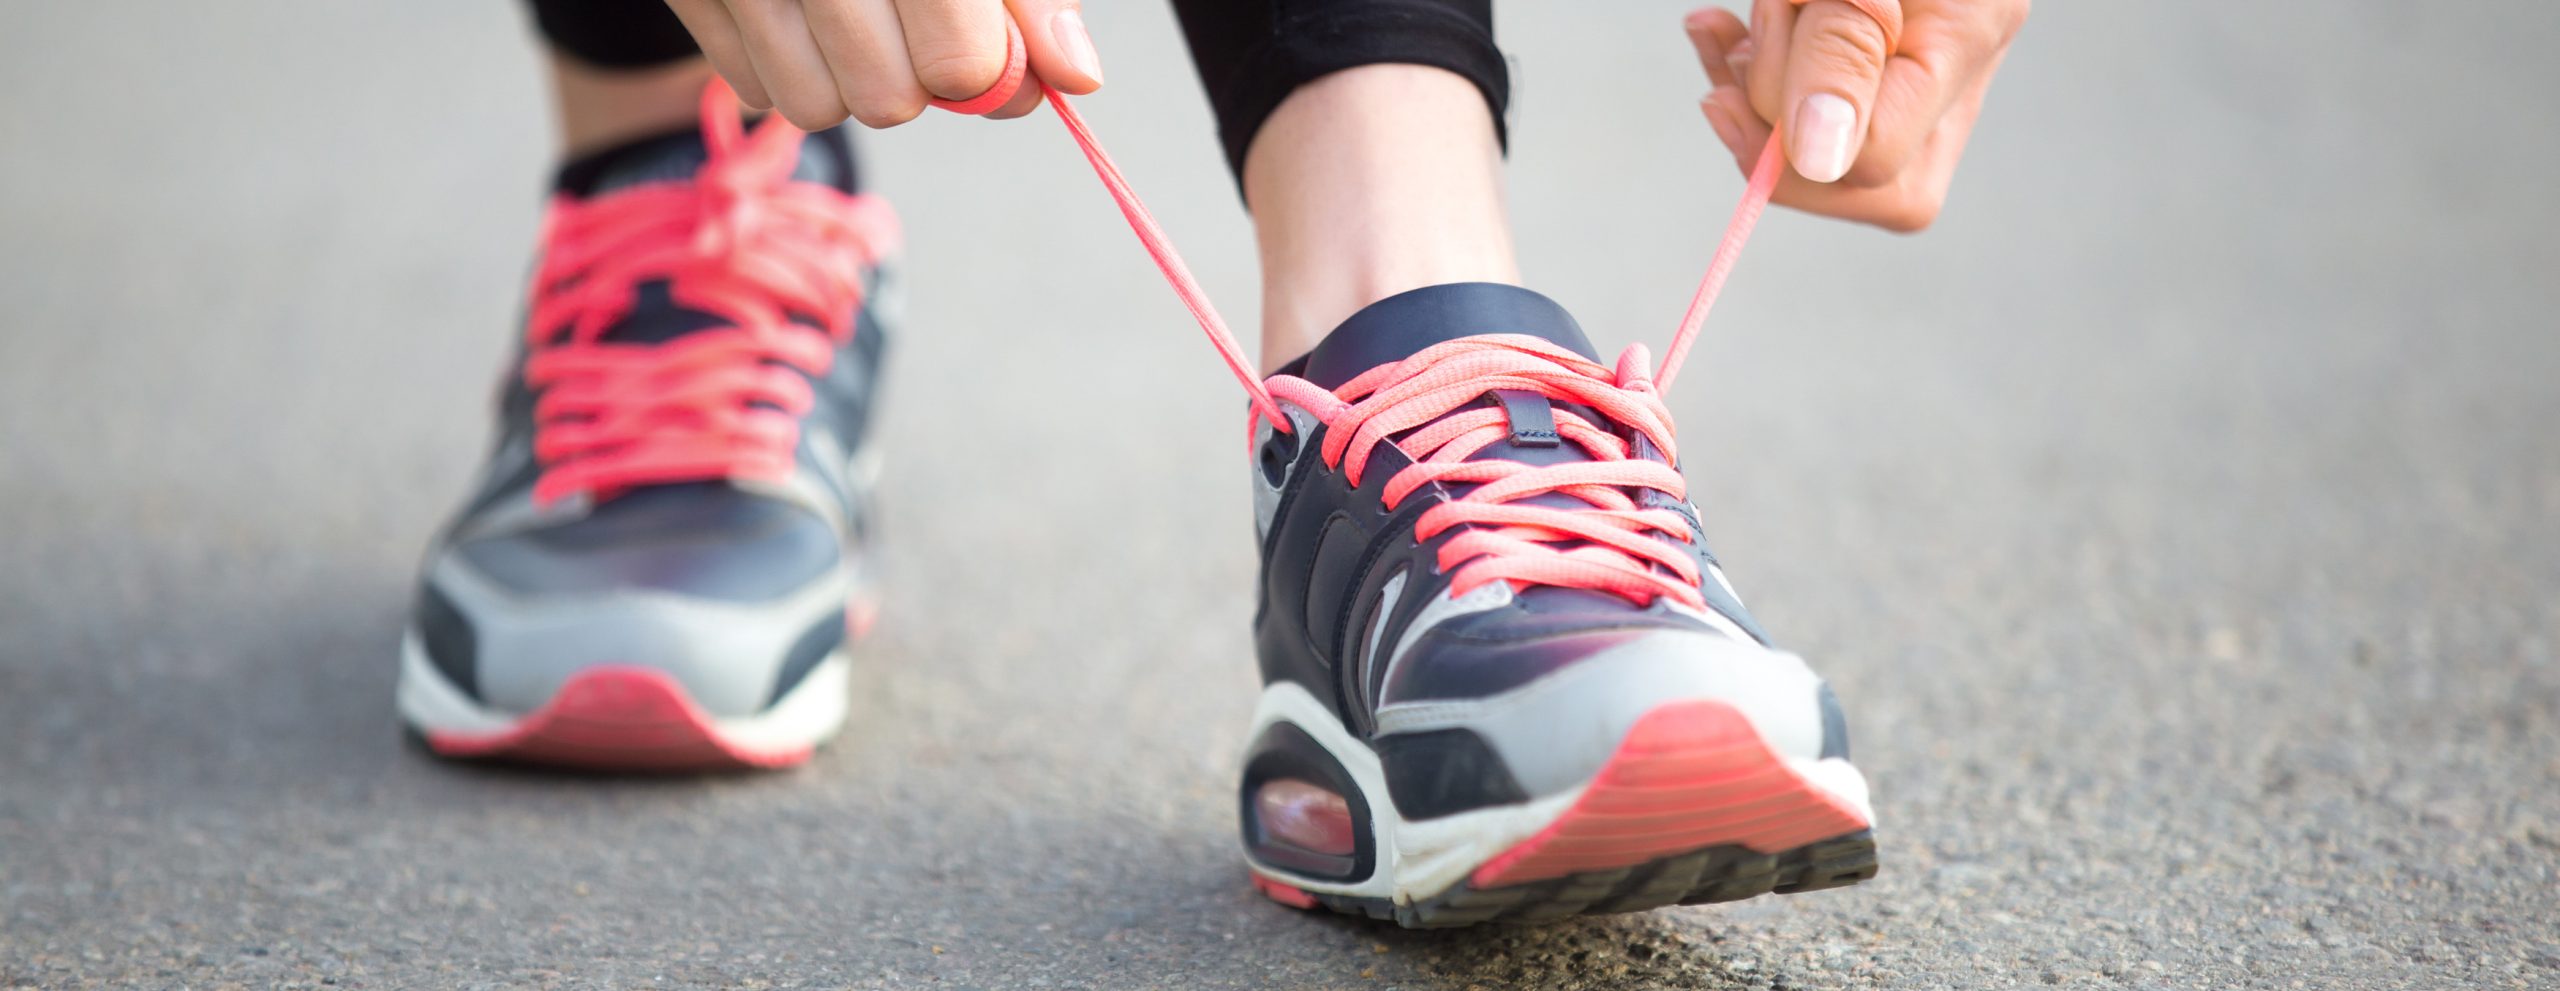
In running, there are many features to consider when it comes to your shoes. Each of these can affect the fit and comfort of your feet. Your shoes may feel incredible the first time you wear them. However, there may be times that the upper part of the shoe can rub your feet the wrong way. Like fingerprints, every foot is different, which is why using the correct method of tying your laces matters.
In this article, you will learn to accommodate various foot and ankle problems by proper tying your laces. We will include several different methods that are geared at relieving specific issues.
Ways to Tie Your Running Shoes
A good rule of thumb if you use any of these methods of lacing is to make sure that the weight is evenly distributed throughout the laces. This will keep from putting pressure on your feet in any given spot.
Now, here are a few methods you can use to alleviate certain issues you may experience.
Heel Lock
This is one of the most well-known lacing options. It’s known as the heel lock, and it keeps the heel from slipping, which can help prevent irritation.
The technique fixes the boundary of the shoe around the impact point. However, it can put an excess amount of weight on the ligaments on the top of your foot. This can hinder the flexibility of your lower leg. While it works quite well, don’t use it for long-distance runs. This is a great options for shoes on those with flat feet,
- Find the additional eyelets on your shoes (the ones nearest the top). These don’t come bound, so they ought to be open. Weave the aglet of your shoelace through the additional eyelet on the correct side, going toward the interior of the shoe. Stop about midway, so you have a circle outside of the shoe. Repeat on the opposite side of the shoe.
- Cross the laces and feed the end through the opposite loop.
- Draw the laces together tight to close up the loops and then tie your shoelaces regularly.
Skip an Eyelet
This method is easier than the previous one and helps with the same issue of slipping and blister formation.
- Lace your shoes regularly, leaving the top two eyelets unlaced.
- Skip the first eyelet and feed the laces through the second open one.
- Tie your shoelaces.
Middle Window
A high instep is when the highest point of your foot is raised somewhat higher in the center and closer to the lower leg. Typically, these individuals also have high arches.
On the off chance that you have a high instep, you may experience excessive pressure or discomfort on the highest points of your foot when wearing shoes.
- Loosen your shoe from the three to four eyelets at the top of your shoe (so your shoe is just bound through a few of the eyelets at the base).
- Weave the shoelace through the eyelet above it on the corresponding side above it, going toward the interior of the shoe. Repeat on the other side.
- Keep lacing up the remainder of the shoe like normal.
Bottom Window
This method is useful when the front of your foot is particularly wide compared to the remainder of your foot.
- Undo the laces of the shoe until all you have is the bottom two eyelets laced.
- Weave the lace through the eyelet directly above it, going toward the exterior of the shoe. Repeat on the other side.
- Repeat one more time.
- Then, lace your shoes up the remainder of the way in the standard method.
Every Other Eyelet
While the most evident fix for a wide foot is to purchase a wide shoe, this is a work-around if that is impossible.
- Loosen the shoelaces until all you have laced is the bottom two eyelets.
- Start lacing your shoe normally, however, skip the eyelets that are directly above the bottom two eyelets.
- Keep lacing your shoe this way, avoiding every other eyelet. Then, tie as normal.
Corner to Corner
On the off chance that your shoes are a touch short or tight at the toe, this lacing method can help reduce the risk of bruised toenails (or allow them to heal without any more damage).
- Remove the laces of your shoe completely.
- Take one aglet of the shoelace and run it through the base eyelet nearest to your large toe. Draw the shoelace corner to corner and weave it through the top eyelet on the opposite side, going toward the exterior of the shoe. (The length of the lace remaining free at the top is the length you’ll be tying the shoe with, so modify appropriately as this end will not be touched again.)
- Weave the other end through the base eyelet, going toward the interior of the shoe. Lace the shoelace from corner to corner through the eyelet on the other side of the shoe. Bring the shoelace straight over to the eyelet crosswise and thread it through, going toward the interior of the shoe.
- Once more, weave your shoelace through the open eyelet on the opposite side, going toward the exterior of the shoe. Continue this until you get to the top of the shoe.
There are plenty of other hacks and methods for lacing your running shoes. Each will be beneficial for specific reasons, so it is worth checking out. Making sure you are set with the right lacing technique and the right pair of running shoes will elevate your running efficiency and eliminate potential pain.
Final Thoughts
As we said, there are a lot of options when it comes to lacing your shoes for running. Try different options and do a couple of laps around the house before taking those running shoes out for their first run.
This will help determine if the shoes and the lacing are ideal for your feet. This will keep you from experiencing pressure or pain, as you can modify the lacing then and there.